A Practical Cinematic AI Video Workflow with FLUX and Runway
A reproducible workflow for planning a shot, generating a reference frame, testing image-to-video motion, and finishing the edit.
Step-by-Step Instructions
Build a reference frame before generating motion
Write a shot brief before opening the image model. Define the subject, location, lens feel, lighting direction, camera height, framing, and delivery aspect ratio. Generate several stills and keep the strongest frame as the visual reference.
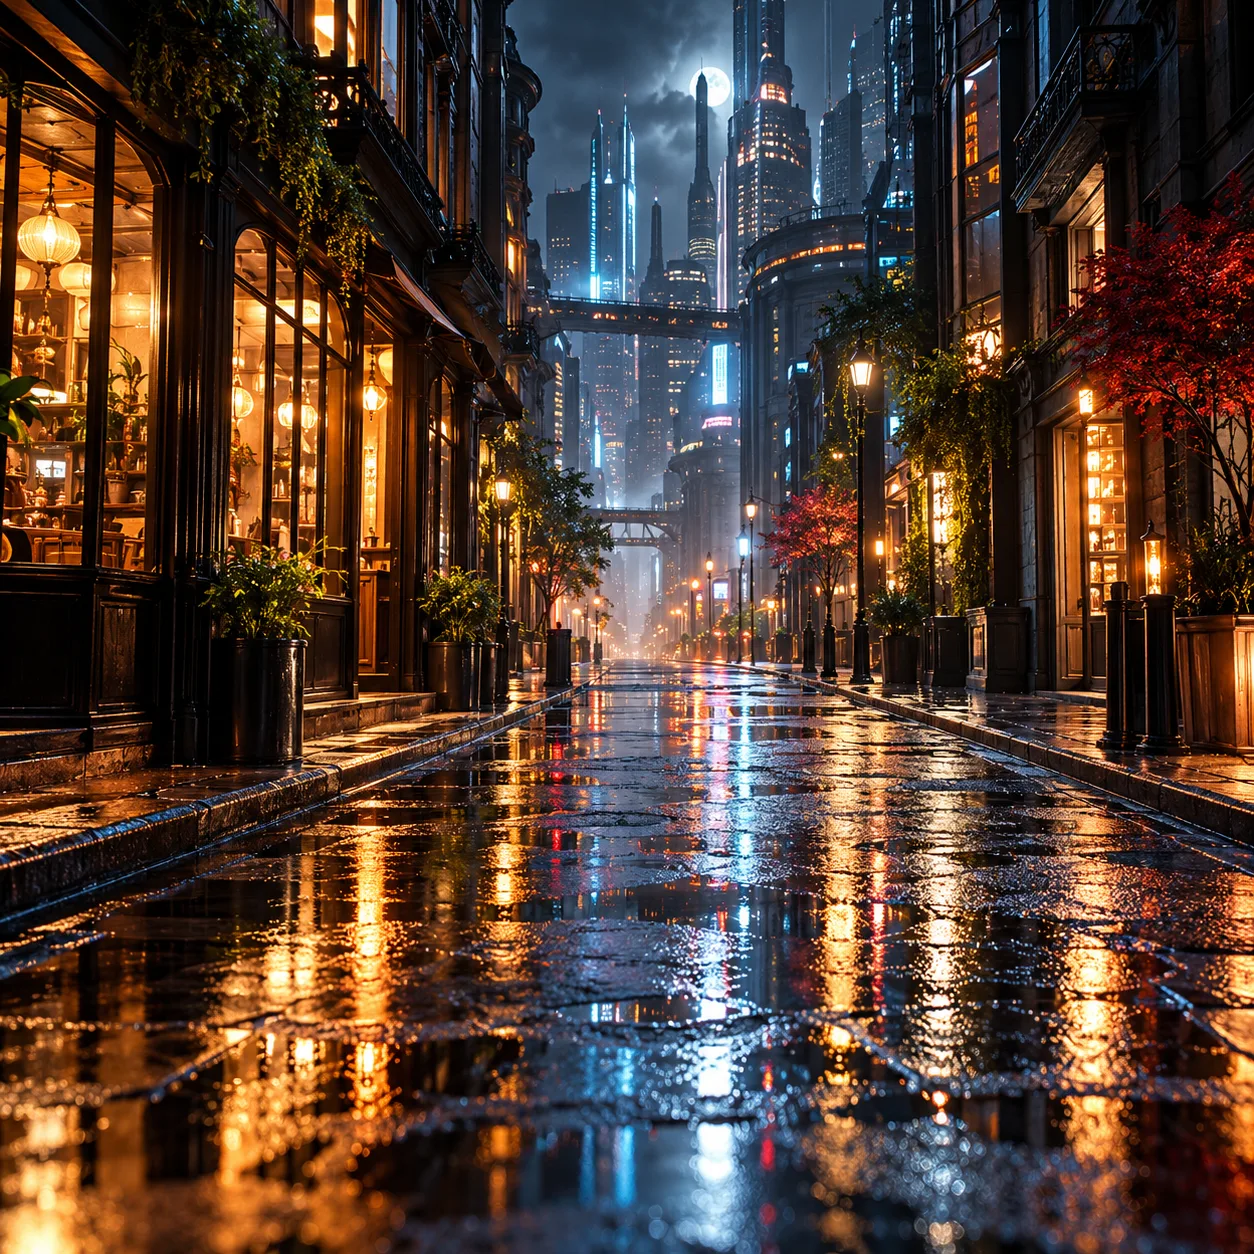
"Cinematic wide angle establishing shot of a futuristic neon cyber-city in heavy rain, shot on 35mm Arri Alexa 65, natural film grain, ISO 400, f/1.8, cinematic anamorphic bokeh, reflections on wet asphalt, photorealistic --ar 16:9"
Choose an image-to-video mode and test a short clip
Open the provider's current image-to-video workflow and upload the selected still as the first frame. Start with a short duration and a single camera move. Model names, supported durations, and export limits vary by plan, so confirm the options shown in your account.
"Slow forward dolly movement through rainy cyberpunk street, steam rising from grates, vehicle lights streaking smoothly, realistic fluid motion, cinematic 24fps motion blur"
Control movement without changing the whole scene
Use available motion controls, masks, or region brushes to separate moving elements from the background. Keep the first pass subtle, inspect faces and edges frame by frame, and reduce motion strength if objects distort or the camera move changes the composition.
Finish sound, pacing, and export quality
Cut the best generation into the edit, then add ambience, effects, and voiceover as separate layers. Check the output resolution, frame rate, watermark, and commercial-use terms on the plan you used before delivering client or monetized work.
"Deep reflective cinematic narration: "The rain washed away the traces, but the neon glow remembered every secret.""
Official documentation & further reading
These first-party resources help verify product workflows, eligibility, privacy terms, and plan details. Providers can change features and limits, so check the current source before making a purchase or production decision.
Related image-to-video studies
Original SwitchRoute prompt recipes and still posters. No third-party video clips are embedded.